Ok let’s say you are building a new PowerShell module or script and you would like to be able to run it on Windows virtual machines locally in your own datacenter, in Azure Functions, in GitHub Actions, in Azure DevOps Pipelines, in Automation Accounts or any other method of running PowerShell – this is perfectly possible, but how can you have it authenticate to Entra ID without a gazillion lines of code? Any how do you test that each scenario actually works? I present to you EntraIDAccessToken – a free and open module for authenticating to Entra ID, both for Microsoft Graph and any other integrated API.
Let’s quickly talk about how the module works. In general, you do two things:
- Add Access Token Profiles
- Use Get-EntraIDAccessToken or Get-EntraIDAccessTokenHeader to get an access token
The module takes care of everything else:
- Handling authentication using the different methods
- Refreshing the access token when it expires
- Coming: Retry logic
This means that you can simply do things like below, or as in one of our modules, without worrying about how the access token is actually retrieved, as long as you have added the access token profile first:
Invoke-RestMethod "https://graph.microsoft.com/v1.0/users" -Headers (Get-EntraIDAccessToken)

Invoke-RestMethod "https://myvault.vault.azure.net/secrets/test" -Headers (Get-EntraIDAccessToken -Profile "keyvault")

Invoke-RestMethod "https://api.fortytwo.io/echo" -Headers (Get-EntraIDAccessToken -Profile "fortytwo")
Now, let’s have a look on how to add the profiles. We can start with a simple client secret:
# Read the client secret
$clientsecret = Read-Host -AsSecureString

# Add the access token profile
Add-EntraIDClientSecretAccessTokenProfile -ClientSecret $clientsecret -ClientId 4445f44b-3d99-4472-b03c-4b87062a2ff5 -TenantId 237098ae-0798-4cf9-a3a5-208374d2dcfd

# Get access token and write pretty to screen
Get-EntraIDAccessToken | Write-EntraIDAccessToken

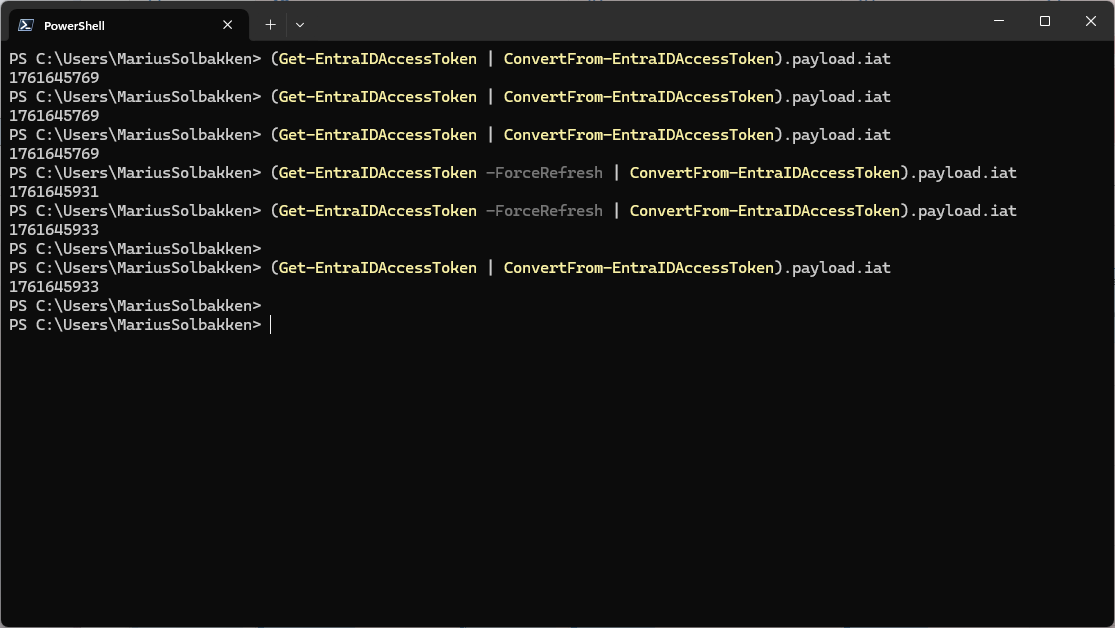
Notice how Get-EntraIDAccessToken simply uses the profile added earlier, and can be called at any time. Also, notice how the IAT claim only changes if we as Get-EntraIDAccessToken to ForceRefresh using a parameter (or if the token expires), which means that it caches the token for us:
We can also do the same thing with certificate based authentication by first creating a self signed certificate and exporting it to a .cer file
New-SelfSignedCertificate -Subject "GoodWorkaround" -NotAfter (get-date).AddYears(100)
$certificate.Export([System.Security.Cryptography.X509Certificates.X509ContentType]::Cert) | Set-Content -AsByteStream "cert.cer"
The file is then uploaded to the app registration:
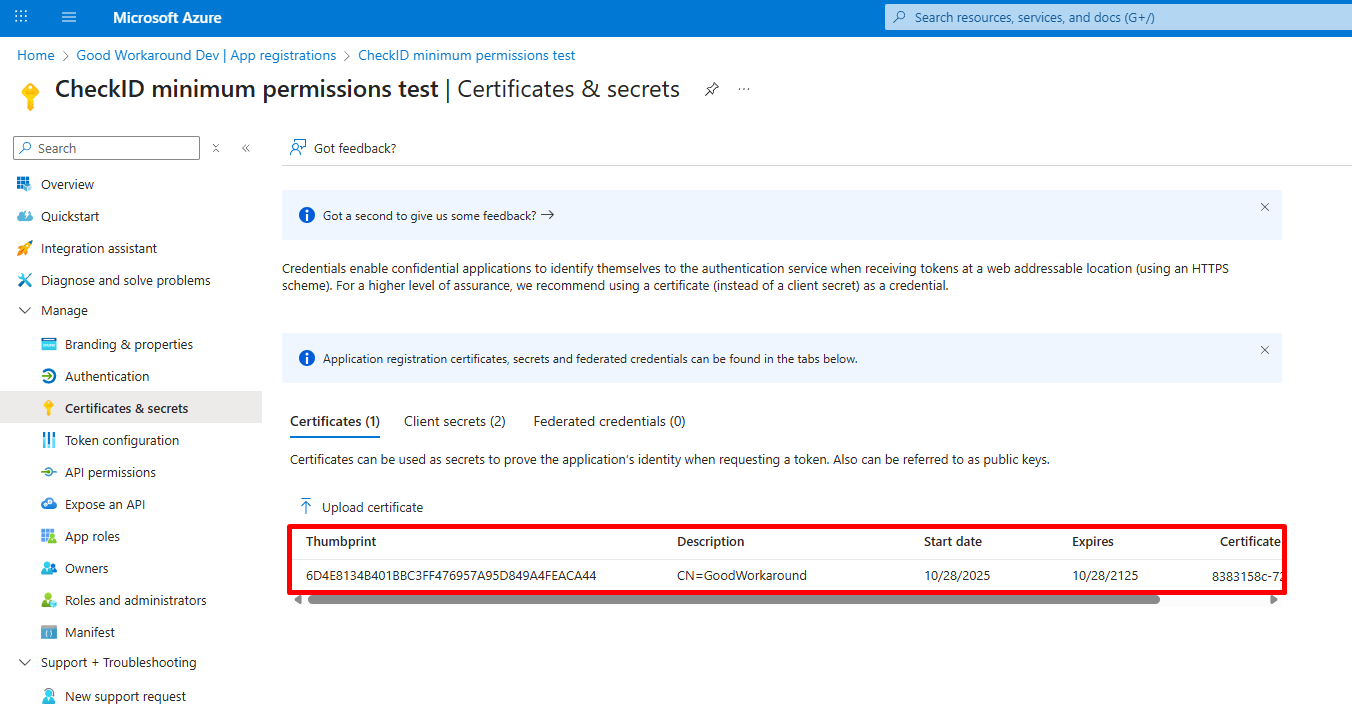
And then we can simply add our access token profile like this:
# Add the access token profile
Add-EntraIDClientCertificateAccessTokenProfile -Thumbprint "6D4E8134B401BBC3FF476957A95D849A4FEACA44" -ClientId 4445f44b-3d99-4472-b03c-4b87062a2ff5 -TenantId 237098ae-0798-4cf9-a3a5-208374d2dcfd

# Get access token and write pretty to screen
Get-EntraIDAccessToken | Write-EntraIDAccessToken
Notice how the Get-EntraIDAccessToken works the same way no matter how authentication actually happens? This is the point of the module. You actually have a whole list of cmdlets for configuring the access token profile:
- Add-EntraIDAutomationAccountMSIAccessTokenProfile
- Add-EntraIDAzureArcManagedMSITokenProfile
- Add-EntraIDAzureDevOpsFederatedCredentialAccessTokenProfile
- Add-EntraIDAzurePowerShellSessionTokenProfile
- Add-EntraIDClientCertificateAccessTokenProfile
- Add-EntraIDClientSecretAccessTokenProfile
- Add-EntraIDExternalAccessTokenProfile
- Add-EntraIDFunctionAppMSIAccessTokenProfile
- Add-EntraIDGitHubFederatedCredentialAccessTokenProfile
- Add-EntraIDInteractiveUserAccessTokenProfile
- Add-EntraIDROPCAccessTokenProfile
