Lessons learned while configuring the SharePoint Services Connector for FIM 2010 R2

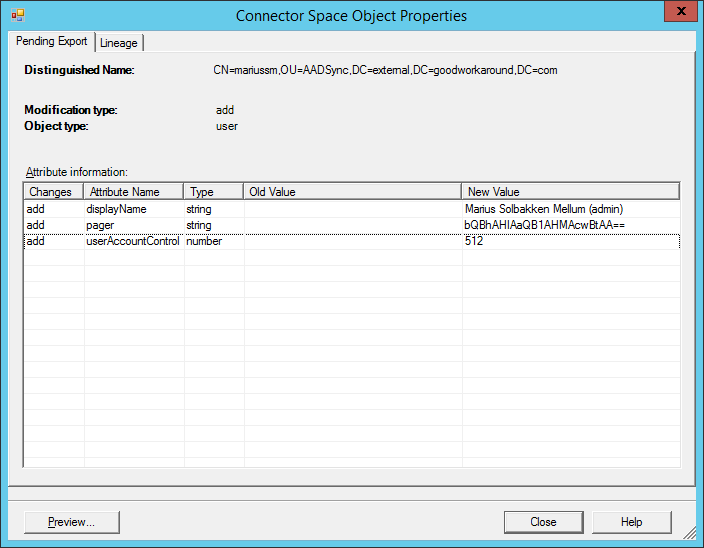
I have now configured many SharePoint Management Agents, and initially I had severe problems finding out which attributes to populate with what. Here is the lessons I learned during this investigation.

Application ID

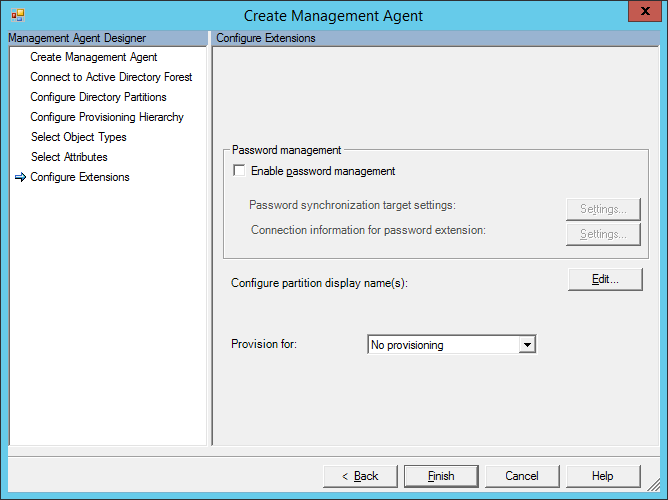
During configuration of the Management Agent, you are requested to input Application ID. I have never used it, and i guess it is used when you have multiple User Profile Service Applications.
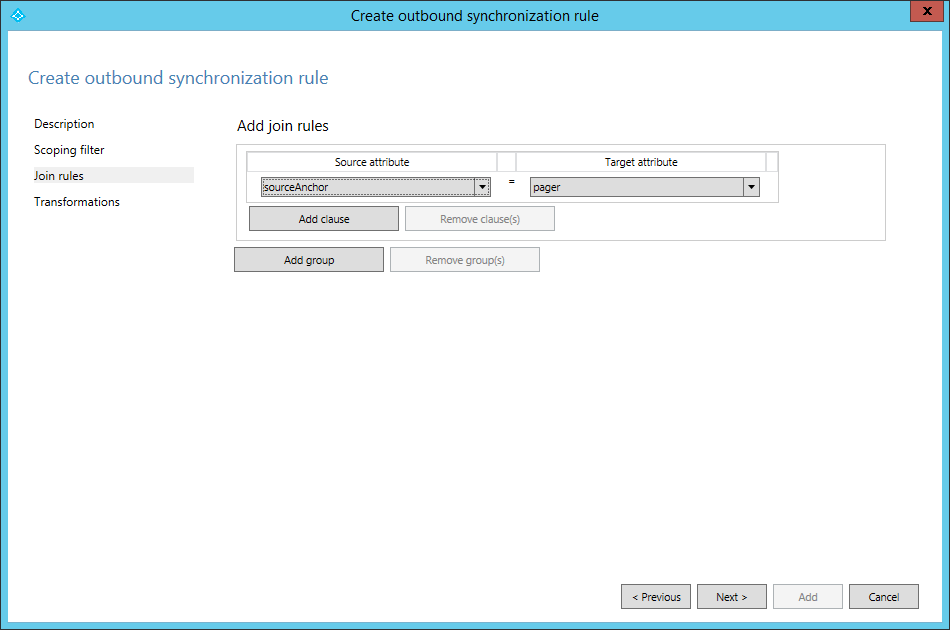
Anchor

Do not bother with anchors. Instead just provision a connector space object and let it get the default anchor. You will never see the anchor anywhere except in FIM and internally in the SharePoint databases.

Manager attribute populating bug

There is a bug in SharePoint, where the manager attribute won’t be populated in the User Profile Service, even though you are flowing it with FIM. The reason is that the timer job “User Profile Service Application – User Profile ActiveDirectory Import Job” is not created if you configure “Enable External Identity Manager” directly. Instead, you have to first choose “Use SharePoint Active Directory Import” on the “Configure Synchronization Settings”, and let this job be created (takes 15 minutes), then switch to “Enable External Identity Manager”.

Parallellism

It is not supported to run multiple SharePoint MAs simultaneously. Not sure why, but a little bit of code snooping shows this is true.

Pictures

Pictures can be a bit difficult, especially when trying with limited permissions. First of all, if you use fiddler the attribute is actually called “PictureURL”. Also, technically it seems as though what actually happens when you use this connector and export a picture, you transfer the binary data (as base64 ofc) out in “PictureURL / Picture” and the API you talk to uploads these data as an original to your mysite, at the location “http://mysitehost.goodworkaround.com/User photos”. And then it stores the url of the picture in the User Profile Service.

First of all, the MySite host MUST BE IN THE SAME FARM. It is not possible to have pictures uploaded to a separate SharePoint farm. Second, there is a requirement for permissions on the mysitehost. You can grant these permissions with the following cmdlet:


$w = Get-SPWebApplication -Identity http://mysitehost.goodworkaround.com
$w.GrantAccessToProcessIdentity("gwrnd\managementAgentAccount")

If you do not give this permissions, FIM will not get any error message from SharePoint saying “sorry, we could not store this picture”. It will simply be “ok” even though the picture was not saved.

Also, as you can see in this TechNet article you need to run a cmdlet to actually generate the thumbnail photos.

ADFS authentication

To configure ADFS authentication the following attributes needs to be flowed from FIM to SharePoint:

SharePoint attribute Value
SPS-ClaimProviderID Name of the trusted identity provider in SP (case sensitive): “SAML Users”
SPS-ClaimProviderType Constant: “Trusted”
SPS-ClaimID Unique identifier – mail, userPrincipalname, employeeID etc. Must be what comes in the nameidentifier claim from ADFS
SID Do not flow anything
ProfileIdentifier someprefix:unique – where “unique” is the same as SPS-ClaimID (not required, but make it unique)
UserName Do not flow anything
AccountName Do not flow anything

Example user

SharePoint attribute Value
SPS-ClaimProviderID SAML Users
SPS-ClaimProviderType Trusted
SPS-ClaimID marius@goodworkaround.com
SID no flow
ProfileIdentifier gwrnd:marius@goodworkaround.com
UserName no flow
AccountName no flow – SharePoint will automatically populate this with something like “i:0\.t|SAML Users|marius@goodworkaround.com

Windows authentication

To configure Windows authentication the following attributes needs to be flowed from FIM to SharePoint:

SharePoint attribute Value
SPS-ClaimProviderID Constant: “Windows”
SPS-ClaimProviderType Constant: “Windows”
SID ObjectSID from Active Directory
ProfileIdentifier DOMAIN\sAMAccountName from Active Directory
UserName sAMAccountName from Active Directory
AccountName Do not flow anything

Example user

SharePoint attribute Value
SPS-ClaimProviderID Windows
SPS-ClaimProviderType Windows
SID – binary data –
ProfileIdentifier GWRND\marius
UserName marius
AccountName no flow

That’s, hope it saves you some time.

Configuring the SharePoint Services Connector for FIM 2010 R2 for ADFS authentication

Here is a quick article on how to configure the SharePoint Services Connector for provisioning user profiles for ADFS authenticated users. I did not find any particularly good articles on the attributes required, so here is a quick reference on what I did no make things work with ADFS authentication.

This is not a guide on how to configure the MA. You should find good information on how to do that here.

There are 5 attributes that are important. Here is a table for you.

Attribute Initial only Description
SPS-ClaimID   This is the value of the identifier claim. This means that if you use userPrincipalname as identifier, this should be marius@goodworkaround.com, or if you use EmployeeID this should be 10032.
SPS-ClaimProviderID   This is the case sensitive name of the Trusted Identity Provider configured in SharePoint. If your Trusted Identity Provider is called “SAML Users”, this value should be “SAML Users”.
SPS-ClaimProviderType   When doing ADFS authentication, this should be the constant “Trusted”. (Btw, if you are doing Windows authentication, this should be “Windows”)
ProfileIdentifier   This value is a bit weird when it comes to ADFS authentication. It is required, and it must be unique, and it mst be on the form “someting:unique” (something colon unique). I usually fill this with “ID:value of SPS-ClaimID”; for example “ID:10032” or “ID:marius@goodworkaround.com“.
Anchor yes Another required value that must be unique. I use the same value as the SPS-ClaimID, so marius@goodworkaround.com or 10032. The reason this attribute must be configure as initial only, is that the Anchor will actually change and overwriting it may cause some strange behavior.

Functions for base 64 in PowerShell

There are no default functions available in PowerShell for encoding and decoding base 64 strings. However, the .NET libraries contain this. Here are two wrapper functions ConvertFrom-Base64 and ConvertTo-Base64 that you can use to make this easier.


function ConvertTo-Base64
{
    [CmdletBinding(DefaultParameterSetName='String')]
    [OutputType([String])]
    Param
    (
        # String to convert to base64
        [Parameter(Mandatory=$true,
                   ValueFromPipeline=$true,
                   ValueFromRemainingArguments=$false,
                   Position=0,
                   ParameterSetName='String')]
        [ValidateNotNull()]
        [ValidateNotNullOrEmpty()]
        [string]
        $String,

        # Param2 help description
        [Parameter(ParameterSetName='ByteArray')]
        [ValidateNotNull()]
        [ValidateNotNullOrEmpty()]
        [byte[]]
        $ByteArray
    )

    if($String) {
        return [System.Convert]::ToBase64String(([System.Text.Encoding]::UTF8.GetBytes($String)));
    } else {
        return [System.Convert]::ToBase64String($ByteArray);
    }
}


function ConvertFrom-Base64 {
    [CmdletBinding()]
    Param(
        [Parameter(Mandatory=$True,
                   Position=0,
                   ValueFromPipeline=$true)]
        [ValidateNotNull()]
        [ValidateNotNullOrEmpty()]
        [string]
        $Base64String
    )

    return [System.Text.Encoding]::UTF8.GetString(([System.Convert]::FromBase64String($Base64String)));
}

These two functions are a part of my PowerShell $profile, which I will create an article about later.

Graphing with PowerShell done easy

PowerShell is nice for getting textual output, csv output, xml output, etc, but there are no built in charting tools. However, luckily PowerShell is based on .NET, which means all the libraries for .NET is available to us. In this article I will show you how to use the Microsoft Chart Controls together with PowerShell to create charts.

The first thing you need to do is to install the Microsoft Chart Controls from here. After this, you can verify with the following lines of code whether you are able to load the assemblies.


[void][Reflection.Assembly]::LoadWithPartialName("System.Windows.Forms")
[void][Reflection.Assembly]::LoadWithPartialName("System.Windows.Forms.DataVisualization")

This should hopefully just return without output. If so, you are good to go.

To make things a bit easier than working directly with objects, I have made a simple module to create new charts, add datasets to them and display them. The following can either be just pasted into a PowerShell, or better, added to a separate “.psm1” file and loaded with Import-Module.

# Load assembly for Microsoft Chart Controls for Microsoft .NET Framework 3.5
Write-Verbose "Loading assemblies"
[void][Reflection.Assembly]::LoadWithPartialName("System.Windows.Forms")
[void][Reflection.Assembly]::LoadWithPartialName("System.Windows.Forms.DataVisualization")


function New-Chart
{
    [CmdletBinding()]
    [OutputType([System.Windows.Forms.DataVisualization.Charting.ChartArea])]
    Param
    (
        # Dataset
        [Parameter(Mandatory=$false,
                   ValueFromPipelineByPropertyName=$false,
                   Position=0)]
        $Dataset,

        # Width
        [Parameter(Mandatory=$false,
                   ValueFromPipelineByPropertyName=$false)]
        [int]$Width = 500,

        # Height
        [Parameter(Mandatory=$false,
                   ValueFromPipelineByPropertyName=$false)]
        [int]$Height = 500,

        # X Interval
        [Parameter(Mandatory=$false,
                   ValueFromPipelineByPropertyName=$false)]
        [int]$XInterval,

        # Y Interval
        [Parameter(Mandatory=$false,
                   ValueFromPipelineByPropertyName=$false)]
        [int]$YInterval,

        # X Title
        [Parameter(Mandatory=$false,
                   ValueFromPipelineByPropertyName=$false)]
        [string]$XTitle,

        # Y Title
        [Parameter(Mandatory=$false,
                   ValueFromPipelineByPropertyName=$false)]
        [string]$YTitle,

        # Title
        [Parameter(Mandatory=$false,
                   ValueFromPipelineByPropertyName=$false)]
        [string]$Title


    )

    # Create chart
    Write-Verbose "Creating chart $Width x $Height"
    $Chart = New-object System.Windows.Forms.DataVisualization.Charting.Chart
    $Chart.Width = $Width
    $Chart.Height = $Height
    $Chart.Left = 0
    $Chart.Top = 0

    # Add chart area to chart
    $ChartArea = New-Object System.Windows.Forms.DataVisualization.Charting.ChartArea
    $Chart.ChartAreas.Add($ChartArea)

    # Set titles and lables
    if($Title) {
        Write-Verbose "Setting title: $Title"
        [void]$Chart.Titles.Add($Title)
    } else {
        Write-Verbose "No title provided"
    }

    if($YTitle) {
        Write-Verbose "Setting Ytitle: $YTitle"
        $ChartArea.AxisY.Title = $YTitle
    } else {
        Write-Verbose "No Ytitle provided"
    }

    if($XTitle) {
        Write-Verbose "Setting Xtitle: $XTitle"
        $ChartArea.AxisX.Title = $XTitle
    } else {
        Write-Verbose "No Xtitle provided"
    }

    if($YInterval) {
        Write-Verbose "Setting Y Interval to $YInterval"
        $ChartArea.AxisY.Interval = $YInterval
    }

    if($XInterval) {
        Write-Verbose "Setting X Interval to $XInterval"
        $ChartArea.AxisX.Interval = $XInterval
    }

    if($Dataset) {
        Write-Verbose "Dataset provided. Adding this as ""default dataset"" with chart type line."
        [void]$Chart.Series.Add("default dataset")
        $Chart.Series["default dataset"].Points.DataBindXY($Dataset.Keys, $Dataset.Values)
        $Chart.Series["default dataset"].ChartType = [System.Windows.Forms.DataVisualization.Charting.SeriesChartType]::Line
    }

    return $Chart
}


function Add-ChartDataset
{
    [CmdletBinding()]
    [OutputType([System.Windows.Forms.DataVisualization.Charting.ChartArea])]
    Param
    (
        # Chart
        [Parameter(Mandatory=$true,
                   ValueFromPipeline=$true,
                   Position=0)]
        $Chart,

        # Dataset
        [Parameter(Mandatory=$true,
                   ValueFromPipelineByPropertyName=$false,
                   Position=0)]
        $Dataset,

        # DatasetName
        [Parameter(Mandatory=$false,
                   ValueFromPipelineByPropertyName=$false,
                   Position=1)]
        [string]$DatasetName = "Added dataset",

        # SeriesChartType = http://msdn.microsoft.com/en-us/library/system.windows.forms.datavisualization.charting.seriescharttype(v=vs.110).aspx
        [Parameter(Mandatory=$false,
                   ValueFromPipelineByPropertyName=$false,
                   Position=2)]
        [string]$SeriesChartType = "Line"
    )

    Write-Verbose "Adding series $Datasetname"
    [void]$Chart.Series.Add($DatasetName)

    Write-Verbose "Adding data binding"
    $Chart.Series[$DatasetName].Points.DataBindXY($Dataset.Keys, $Dataset.Values)

    Write-Verbose "Setting chart type to $SeriesChartType"
    $Chart.Series[$DatasetName].ChartType = [System.Windows.Forms.DataVisualization.Charting.SeriesChartType]::$SeriesChartType

    return $Chart
}


function Show-Chart
{
    [CmdletBinding()]
    [OutputType([void])]
    Param
    (
        # Chart
        [Parameter(Mandatory=$true,
                   ValueFromPipeline=$true,
                   Position=0)]
        $Chart
    )

    # display the chart on a form
    $Chart.Anchor = [System.Windows.Forms.AnchorStyles]::Bottom -bor [System.Windows.Forms.AnchorStyles]::Right -bor [System.Windows.Forms.AnchorStyles]::Top -bor [System.Windows.Forms.AnchorStyles]::Left
    $Form = New-Object Windows.Forms.Form
    $Form.Text = "PowerShell Chart"
    $Form.Width = $chart.Width
    $Form.Height = $chart.Height + 50
    $Form.controls.add($Chart)
    $Form.Add_Shown({$Form.Activate()})
    $Form.ShowDialog() | Out-Null
}

The functions are documented in the module, and available with Get-Help.

Here is a demo script using the functions:

Import-Module .\GoodWorkaroundCharts-v0.1.psm1 -Force

# Create simple dataset
$simpleDataset = @{
    "Microsoft" = 800
    "Apple" = 250
    "Google" = 400
    "RIM" = 0
}

# Create chart and show it
New-Chart -Dataset $simpleDataset | Show-Chart


# Create ordered hashmap
$osloTemperature = [ordered]@{}

# Request weather data for Oslo, and put into dataset
[xml]$weather = (Invoke-WebRequest -Uri http://www.yr.no/place/Norway/Oslo/Oslo/Oslo/varsel.xml).Content
$weather.weatherdata.forecast.tabular.time | foreach {
    $osloTemperature[$_.from] = $_.temperature.value
}

# Create chart, add dataset and show
New-Chart -Title "Temperature in Oslo" -XInterval 4 -YInterval 2 -Width 1200 |
    Add-ChartDataset -Dataset $osloTemperature -DatasetName "Temperature" -SeriesChartType Spline -OutVariable tempChart |
    Show-Chart

# Save the chart as a PNG to the desktop
$tempChart.SaveImage($Env:USERPROFILE + "\Desktop\Chart.png", "PNG")

Hope that helps someone!

Converting LastLogonTimeStamp from Active Directory to Datetime

I often find myself needing to convert the LastLogonTimeStamp attribute from Active Directory to Datetime with PowerShell. What I have done, is that in my PowerShell profile ($profile) I have added a function ConvertFrom-LastLogonTimeStamp to get the value as a Datetime.

Easier to remember!


function ConvertFrom-LastLogonTimestamp
{
    [CmdletBinding()]
    [OutputType([datetime])]
    Param
    (
        # LastLogonTimestamp from AD
        [Parameter(Mandatory=$true,
                   ValueFromPipeline=$true,
                   Position=0)]
        [String] $LastLogonTimestamp
    )

    return [datetime]::FromFileTime($LastLogonTimestamp)
}

Playing around with the AADSync beta

The beta for the new AADSync tool has been released, and I have been playing around with it a little to discover whats in store and what we might expect from Microsoft Identity Manager (FIM vNext) when that comes out. This is a screenshot heave “try it for the first time and screenshot everything”-article. What I am trying is to see what the new rule editor can manage, and to see whether I can actually manage to provision users in a separate AD forest directly from AADSync.

I made it through the regular installation, which you can see documented somewhat here. This yielded a quite usual DirSync setup, but in miisclient.exe you cannot see attribute flows and filters. This is instead move to the “Synchronization Rules Editor”.

I started of creating a secondary AD management agent. The first ting i notice here is the amount of management agents available by default. This is in strong contrast to DirSync.


Not much to comment on in these screenshots, except for the fact that you cannot configure filters and attribute flow, everything is still FIM. New MA added:

Having a look at the default configure inbound and outbound rules in the new “Synchronization Rules Editor”.

I clicked “Add new rule”, and started on my inbound join rule for my “external.goodworkaround.com” AD, which is my second forest. I just want to see if I can provision user account into that forest based on the users in my “gwrnd.goodworkaround.com” primary forest.

Some new filtering possibilities available, that needed an extension before. However, there is no way of extending it yourself it seems.

Joining pager in AD with sourceAnchor in FIM.

I’ll just skip adding inbound attribute flow for now.

Added successfully.

The default list of outbound sync rules.

Trying to create a outbound provisioning rule to my “external.goodworkaround.com” forest.

Filtering.

Same join as the inbound rule.

Let’s just try some transformation and see if it works on first try!

It did.

Doing a full synchronization on the primary AD yields 71 adds to my second AD.

Looking good.

Seems right (wonder if I am missing some very important attribute?)

Exported successfully

Some changes not reimported (userAccountControl was wrong value)

I forgot the sAMAccountName too.

Just as before.

Some still giving error, due to sAMAccountName being more than 20 characters.

Let’s see if “Left” still exists.

Yep.

One more thing. The new way of triggering “DirSync” is like below. Also notice that it is automatically triggering my custom added MA!

Looks good (except that it did not Delta sync on my custom MA, only import and export).

That’s it. As I said, just some screenshots to see what’s in store. I am starting to look forward to Microsoft Identity Manager / FIM vNext; hopefully this will be a part of it.

PowerShell script to find duplicate proxyaddresses

This script uses the Active Directory PowerShell module to locate duplicate proxyaddresses throughout your forest. The script must be run from a computer that have the AD PowerShell installed, and can reach all PDCEmulators in all domains in your forest.

Import-Module ActiveDirectory

# Create hashmap for proxyaddresses
$proxyaddresses = @{}

# For each domain in the forest
Get-ADForest | Select-Object -ExpandProperty Domains | Get-ADDomain | foreach {
    Write-Output ("Parsing domain {0} by contacting {1}" -f $_.Name, $_.PDCEmulator)
    # Get all AD objects that have proxyaddresses
    Get-ADObject -Filter {proxyaddresses -like "*"} -Properties proxyaddresses -Server $_.PDCEmulator | foreach {
        $_.proxyAddresses | foreach { $proxyaddresses[$_] += 1}
    }
}

Write-Output "Done, looking for duplicates"
$duplicates = $proxyaddresses.Keys | where{$proxyaddresses[$_] -gt 1}


# Output proxyaddresses that are duplicates
if($duplicates) {
    Write-Output "The following proxyaddresses was found multiple times"
    $duplicates # | Out-Gridview # Remove first hash-sign in order to get an "Excel"-view. Needs PowerShell ISE.
} else {
    Write-Output "No duplicates found"
}

Virtual hosting with Apache – the good way

There are so many amazingly bad guides to Apache and virtual hosting, so i decided to create a good one. This guide uses Apache2 running om Debian 6. I will not cover installation and stuff. Also, I cut right to the chase.

First, the NameVirtualHost property should just be declared once, and ports.conf is a good place to have it.

/etc/apache2/ports.conf

NameVirtualHost *:80
Listen 80

Second, do not place all virtual hosts in a single file, that’s not very dynamic. Look at this:

# ls /etc/apache2/sites-*
/etc/apache2/sites-available:
total 8
dr-xr-x--- 2 root           www-data     3896 Jun 26 15:33 .
dr-x------ 5 www-data        www-data     3896 Jun  8 13:15 ..
-rwxr-x--- 1 root           www-data     569  Apr 11 21:51 default
-rwxr-x--- 1 root           www-data     569  Apr 19 11:40 sub1.example.org
-rwxr-x--- 1 root           www-data     569  Apr 19 11:41 sub2.example.org
-rwxr-x--- 1 root           www-data     569  Jun 26 15:25 goodworkaround.com

/etc/apache2/sites-enabled:
total 0
dr-xr-x--- 2 www-data  www-data 3896 Jun 26 15:33 .
dr-x------ 5 www-data  www-data 3896 Jun  8 13:15 ..
lrwxrwxrwx 1 root   root  26 Apr 11 21:52 000-default -> ../sites-available/default
lrwxrwxrwx 1 root   root  41 Apr 19 11:49 sub1.example.org -> ../sites-available/sub1.example.org
lrwxrwxrwx 1 root   root  41 Apr 19 11:50 sub2.example.org -> ../sites-available/sub2.example.org
lrwxrwxrwx 1 root   root  37 Jun 26 15:29 goodworkaround.com -> ../sites-available/goodworkaround.com

So what am I doing that no one else is doing? I am symlinking, and I am splitting each domain or subdomain into separate files. Just use place all the domains in the sites-available folder, and symlink it from sites-enabled. This makes it easy to disable sites temporary, by just removing the symlink and reloading apache. Lets take a look one of those files.

/etc/apache2/sites-available/goodworkaround.com

<VirtualHost *:80>
        ServerAdmin webmaster@goodworkaround.com
        ServerName goodworkaround.com
        # ServerAlias www.goodworkaround.com

        DocumentRoot /home/mariussm/websites/goodworkaround.com

        <Directory />
                Options FollowSymLinks
                AllowOverride None
        </Directory>

        <Directory /home/mariussm/websites/goodworkaround.com>
                Options FollowSymLinks MultiViews
                AllowOverride All
                Order allow,deny
                allow from all
        </Directory>

        ErrorLog ${APACHE_LOG_DIR}/goodworkaround.com.error.log

        # Possible values include: debug, info, notice, warn, error, crit,
        # alert, emerg.
        LogLevel warn

        CustomLog ${APACHE_LOG_DIR}/goodworkaround.com.access.log combined

</VirtualHost>

As you can see, it listens on all interfaces (*:80) on port 80, cares only for the hostname goodworkaround.com and has a root folder. So hey, that’s the easy way.