Authenticating .NET sites with ADFS is pretty easy, especially when you create a new Visual Studio project and just point to the ADFS farm’s federation metadata. However, some times you might want an as simple ADFS authenticated site as possible, without MVC patterns or anything. In this article I will provide you with the simplest .NET site possible for authenticating with ADFS. Also, I will demonstrate how to host this site in Azure Websites.
Creating an Azure website
This site will also work on regular IIS or IISExpress servers, but here is how to configure an Azure website to host it.
Start by logging into the Azure mangement portal and creating a new website.
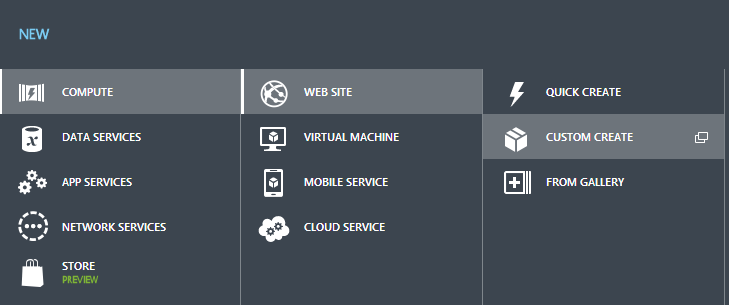
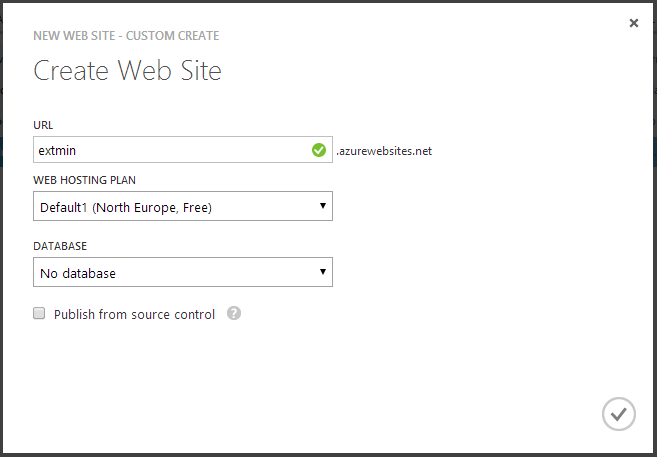
Choose a URL, choose a web hosting plan (or create one if you have not already done that). Click the OK-button.
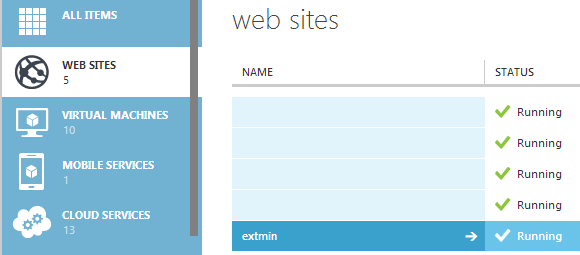
After you have created the site, you should see it provisioning and then running. This can take a few momemts.
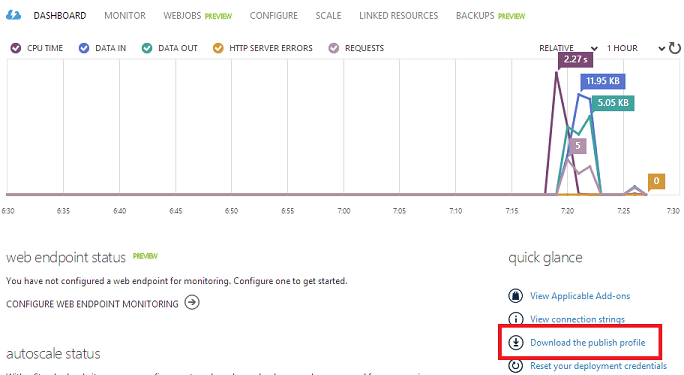
Click the site and go to the Dashboard of the site. On the Dashboard, click “Download the publish profile”.
Store the file and open it in your favorite text editor. Here you will find the Web Deploy and the FTP publishing method. Get the userName, userPWD and publishUrl for the FTP method. The publish url shoul be something like ftp://waws-prod-db3-013.ftp.azurewebsites.windows.net/site/wwwroot, the password about 50 characters and the username on the form website\$website, in my case extmin\$extmin.
Open an Explorer window, or any other FTP client, and go to the ftp url. Enter the username and password and you should see this.
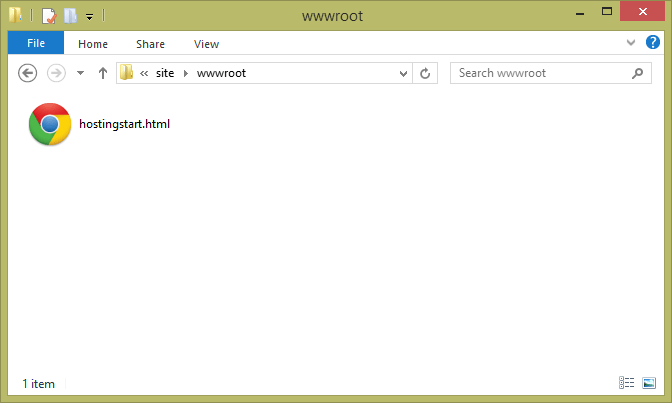
You can safely delete the hostingstart.html file. You know have access to the storage area for your website, and can publish anything you’d like here. For the sake of this guide, you will want to get this file and extract the contents to this area. Also, your site will be available at https://sitename.azurewebsites.net.
Configuring ADFS
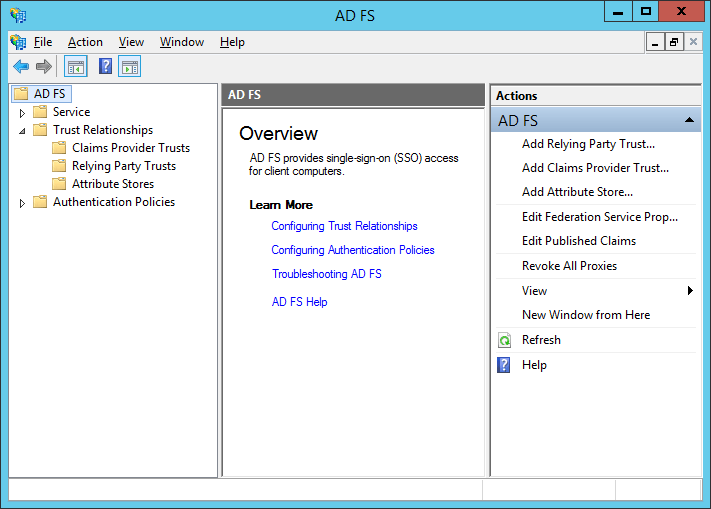
What we need to do is to add a new Relying Part Trust. Start by opening the ADFS management console, and clicking “Add Relying Party Trust” in the right column.
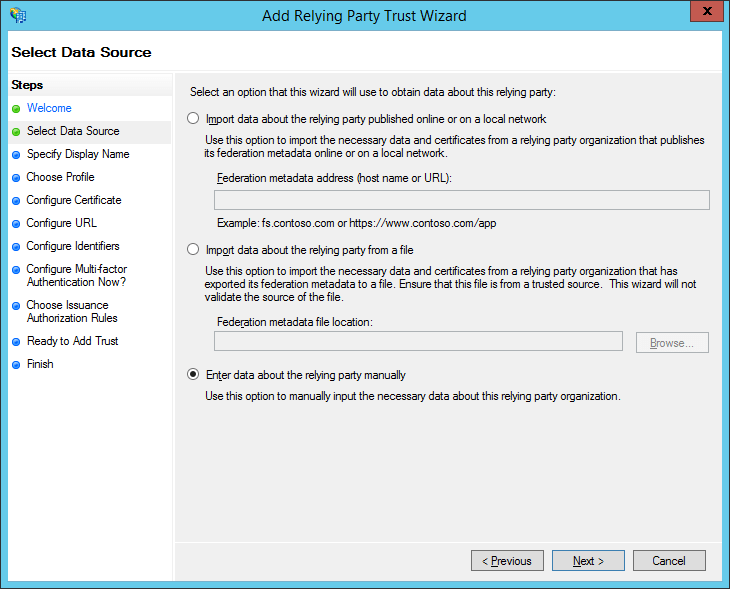
Choose to enter data manually.
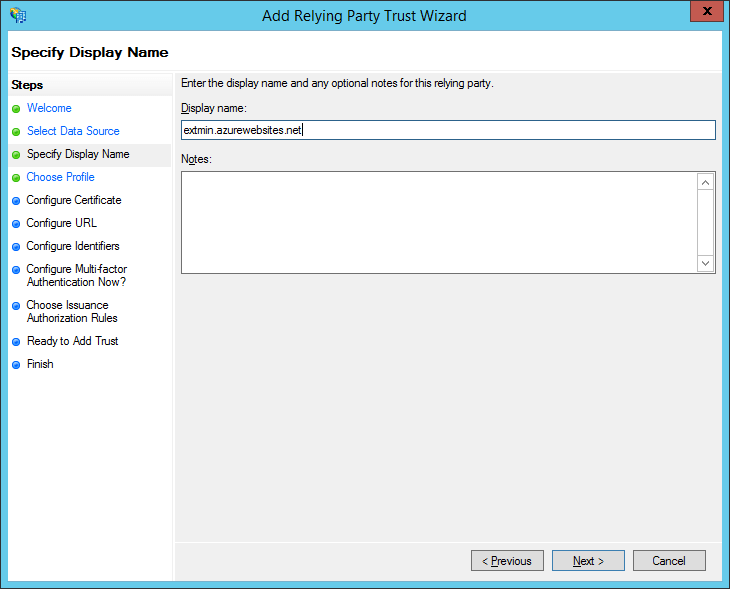
Select any display name you’d like.
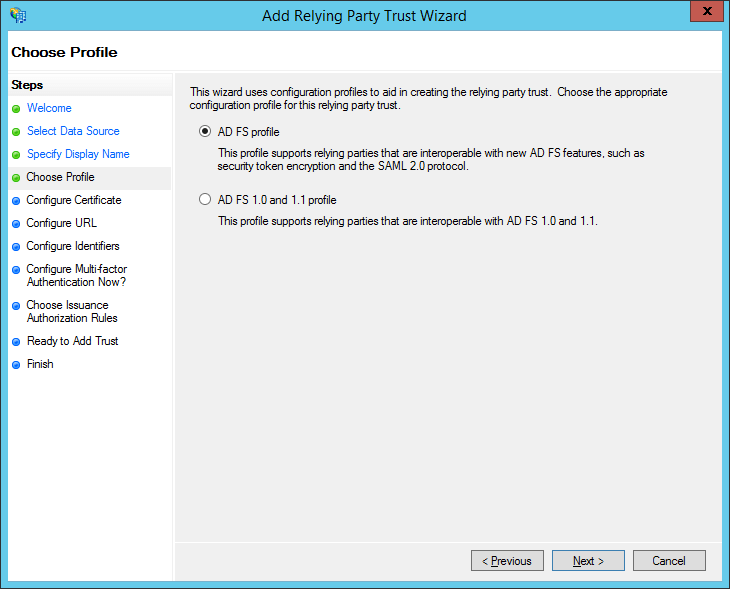
Choose AD FS Profile.
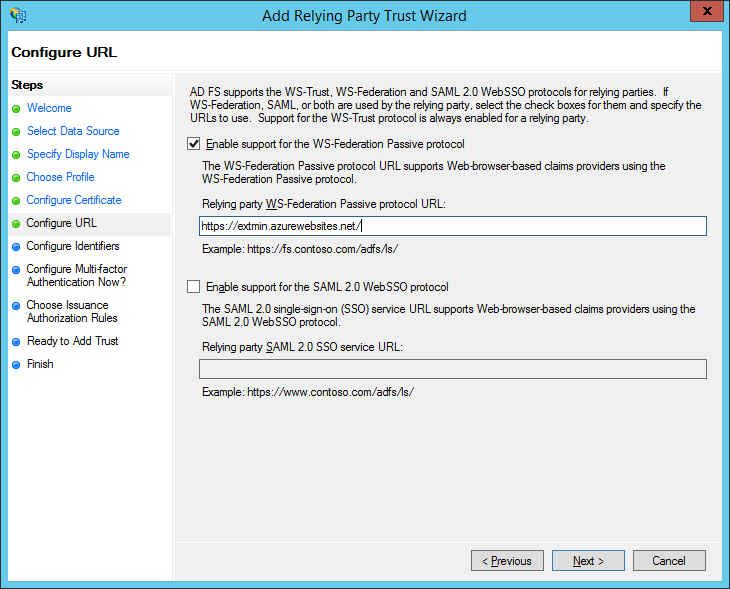
Enble support for WS Federation, and input the url of the website we created in Azure (or if you have the site on-premise, the url you have for it there).
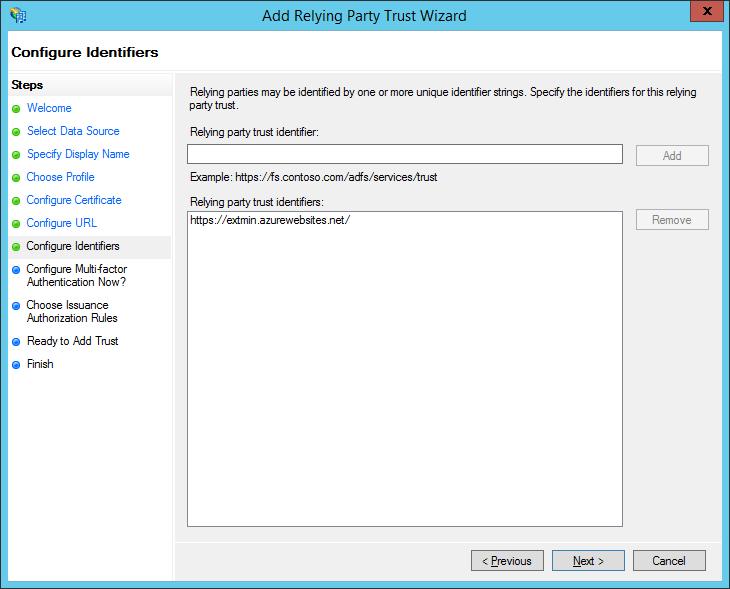
Leave the default configuration for identifier. This is the “realm” from web.config if you choose to use something not default.
Click next on the rest of the pages, and finish. This should now open the following window with editing claim rules.

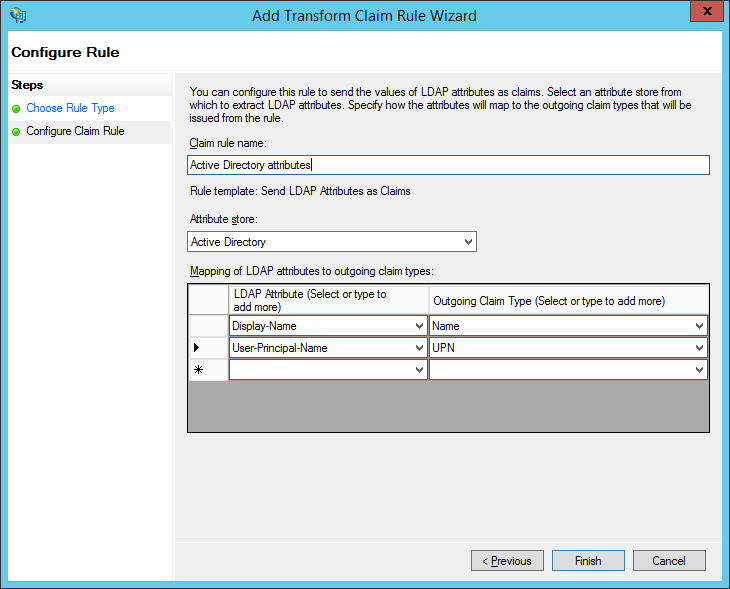
Click “Add…” and select “Send LDAP Attributes as claims”, and click next.

Here you can choose whatever attributes you want to send. Here is just an example. You can also choose to not send any attributes. The simple site will still authenticate you, but it will not know anything about the user (other than that the user was authenticated).
Click Finish and OK. You have now configured ADFS.
Explanation of each file in the website
Click here to download all files in the example. The following is an explanation of each file.
Default.aspx
Simple default page with codebehind. Shouldn’t really need any explanation.
Default.aspx.cs
A simple codebehind with a simple Page_Load that prints each claim provided. The important bit here is the following line. The ClaimsIdentity class provides a lot of methods necessary to actually get access to the different claims.
System.Security.Claims.ClaimsIdentity Identity = new System.Security.Claims.ClaimsIdentity(Thread.CurrentPrincipal.Identity);
bin/System.IdentityModel.Tokens.ValidatingIssuerNameRegistry
Important library used to validate the token signing. This is actually from NuGet – https://www.nuget.org/packages/System.IdentityModel.Tokens.ValidatingIssuerNameRegistry/.
Web.config
Each section is commented, and this is the only file that you need to edit.
Get ADFS token signing thumbprint.ps1
Run from any computer with PowerShell 4.0 (for example 2012 R2 server). Just right click and “Run with PowerShell”. Input the hostname of your ADFS farm, such as adfs.goodworkaround.com, and this script will get the federation metadata and extract the thumbprint. This is what you need in web.config, in the issuerNameRegistry.
Setting up the website
The only file you need to edit is the web.config file. Open web.config in your favorite editor and just replace the following:
| Replace | With |
| adfs.goodworkaround.com | The FQDN of your ADFS |
| min.azurewebsites.net | The FQDN of your website |
| 7B0EBA22C68FD2375F95692EF9C1B90B563D8064 | The thumbprint you get from Get ADFS token signing thumbprint.ps1 |
Drag all the files over in the deployment FTP, or whatever deployment method you choose, and you are good to go.
Testing
Open a browser and navigate to your site. You should see that you are immediately redirected to your ADFS.
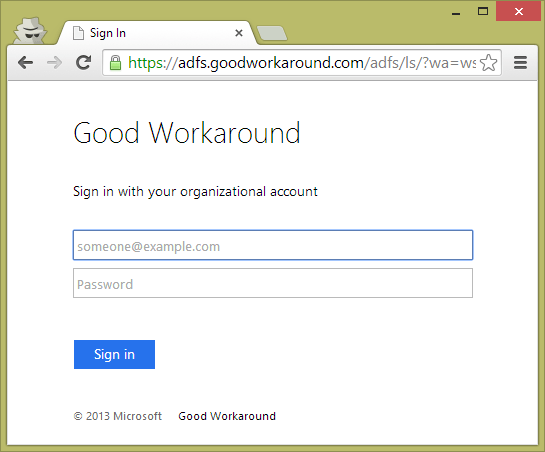
Log in, and you should be redirected back to your site, which will show you your claims.

Let me know if you have any trouble!

This seemed too good to be true… and then it was. 😦 All the Dropbox links area dead. I think Dropbox stopped doing public download links the way they used to.
Hi, you are right. Dropbox disabled links 😦 Here is a working one: https://www.dropbox.com/s/4smyk65nl3wdepz/Minimal%20ADFS%20site.zip?dl=0
Marius
I’ve tried the above on IIS on Server 2019 with contact to ADFS on Server 2019, but I get “HTTP Error 404. The requested resource is not found.”
Not sure if I have to do anything with the .dll from NuGet, because there’s no explanation there.
I would love to get this working…
And I’ve figured it out already thanks to a hint on https://docs.microsoft.com/en-us/previous-versions/windows/it-pro/windows-server-2008-R2-and-2008/cc754185(v=ws.10)
I’m in the habit of creating each website with the DefaultAppPool, because I only have static (redirect) websites and thus no need for .NET stuff.
I’ve deleted the old website and recreated it whilst creating an AppPool for the site, and now it’s working instantly.
Thanks!
Great! As you can see, this post is 7 years old, so it might be a few things that are outdated 🙂